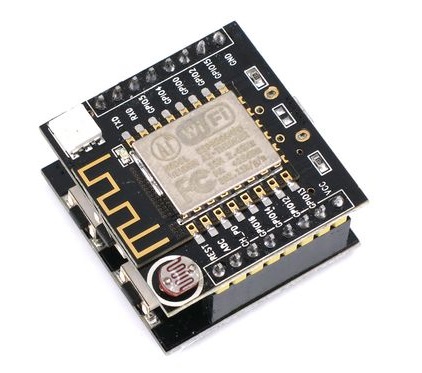
Gizwits Witty Module

Buy It Now
Opinions
- Pro - It’s the board I use most often for this tutorial
- Pro - Integrates a button, an LED, and a photoresistor so you can start tinkering right away without any breadboards or external parts
- Con - It has to be plugged into base to be programmed making it clumsy to integrate into breadboard circuits
- Con - Button placement supposedly reduces WiFi range, though only by ~2/3 of the original range
Setup Notes
- This board is ready to be plugged in and used in the tutorial
- LED notes:
- Red channel is on GPIO15 -
digitalWrite(15, value)
- Green channel is on GPIO12 -
digitalWrite(12, value)
- Blue channel is on GPIO13 -
digitalWrite(13, value)
- Some cheap versions of this board have a non-functional LED
- Light sensor notes:
- CDS cell is hooked up to ADC -
analogRead(A0)
- Make sure the ADC input voltage is always between 0V and 1V
- Button notes:
- Button is hooked up to GPIO4 -
digitalRead(4)
- Be sure to enable internal pullup -
pinMode(4, INPUT_PULLUP)
- Button pushed = LOW, button released = HIGH
- The button supposedly limits WiFi range
Resources
